


Sunday, July 31, 2011
Where the Boat leaves From

*Click the tag for full view*
This tutorial was written by Brunette on July 31st 2011.
Any similarity to any other tutorial is purely coincidental.
Do not copy and paste my tutorials or claim as your own you may link to them for group challenges.
What you'll need:
You'll need a tube of choice I am using the gorgeous art of Elias Chatzoudis. You can purchase his art for signature tags at PSP Tubes Emporium.
AND while you're there be sure to check out the other awesome artists there!
Fonts of choice
Eye Candy - Gradient Glow
Template by Melissa V over at the Creative Misfits blog here.
A kit of choice I am using a gorgeous kit called Where the Boat Leaves From by Grunge and Glitter. You can find this kit over at Digital Chaos or Twilight Scraps.
Ready?
Let's get started!
Open up the template shift+D to duplicate it then close off the original.
I closed off the white background layer and the right circle layer.
On the back rectangle layer selections-select all-float-defloat open up paper 6 from the kit re-size it fits nicely then go to selections-invert and hit delete. Close off the original rectangle layer.
Open up paper 8 from the kit move it below the rectangle layer and use your eraser tool to erase it so it only shows along the bottom. Play around make it so it sorta looks like on a beach.
Open the netting from the kit copy and paste it as a new layer make sure its below the 3 square layers and resize it so it fits nicely.
On the left square layer take your magic wand and select the gray area then go to selections-modify-expand by 2 open up one of the scene showing papers I used papers 11,12 and 13. Add a new layer then copy and paste one of these layers INTO the selections then select none. Repeat these steps for the other two square layers.
Open up the palm tree from the kit copy and paste it as a new layer re-size it so it fits nicely use your eraser tool to delete the bottom part of the palm tree leaving the leaves of it hanging over the rectangle layers.
I took the rope from the kit copied and pasted it as a new layer re-sized it a little and moved it below the square layers and the palm tree deleted with my eraser tool what overhanged a little.
I also used the bird and the coconuts from the kit re-sizing them so they fit nicely arrange them to your liking.
Open up your tube copy and paste it as a new layer then duplicate it go to adjust-Blur-Gaussin Blur- settings at 3 then change the blend mode to overlay and add a drop shadow to the original tube layer.
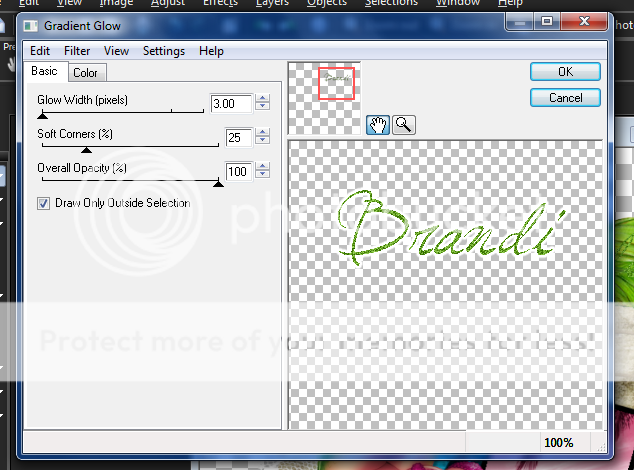
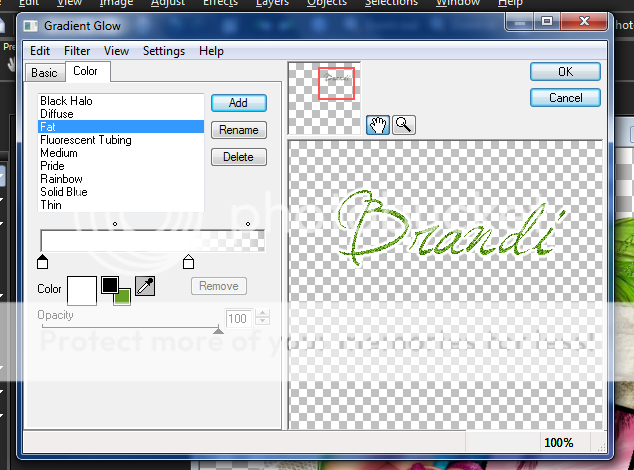
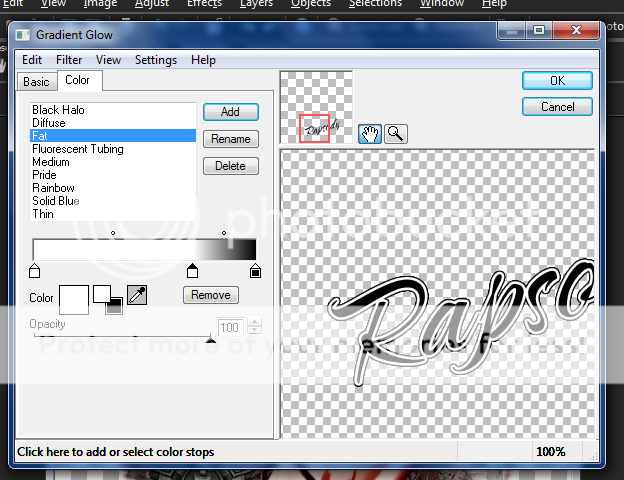
In your font of choice add your name in a color that matches your tag I used green. Then added some noise, a gradient glow and a dropshadow settings for these are in the screen-shots below. I moved mine in the palm tree and changed the blend mode to Luminance L.


Finally add your copyright and license number if applicable save as png or jpeg whichever you prefer and we're done!
I hope you enjoyed this tutorial and found it easy to follow.
Saturday, July 30, 2011
High Maintenance

This tutorial was written by Brunette on July 30th 2011.
Any similarity to any other tutorial is purely coincidental.
Do not copy and paste my tutorials or claim as your own you may link to them for group challenges.
You'll need a tube of choice I am using the awesome art of Angie Monasterio. You can purchase her art for signature tags at Up Your Art.
AND while you're there be sure to check out the other awesome artists there!
Fonts of choice
Mask of choice
I used mask 31 from Brutal Designs which you can find on her blog here.
The mask I used is in set 5.
I am also using a fab template by Deb over at Creative by Nature here.
I used template 116
Open up the template shift+d to duplicate it then close out the original.
Then go to image-Canvas size- change it to 750x750 and close off the copyright layer on the template.
On the word-art layer make sure your on the black layer and go to selections-select all-float-defloat add a new layer and flood fill with a color of choice, I used a gradient of two colors. Delete the original word-art layer but leave the other layers for the word-art alone.
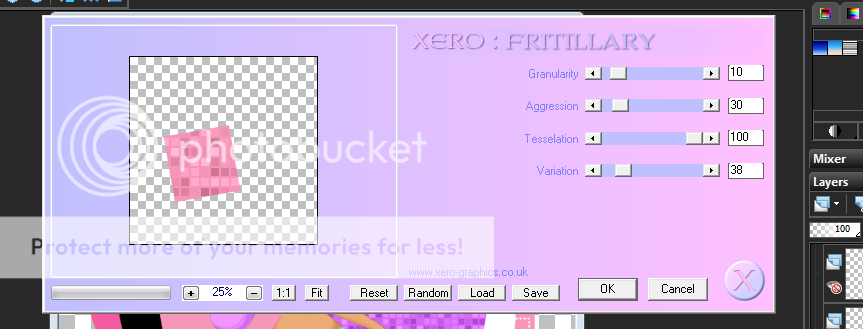
On layer 3 of the template selections-select all-float-defloat add a new layer and flood fill with a color of choice then apply Xero-Fritillary with the settings shown below. Repeat this step for layer 4 of the template.
On layer 5 selections-select all-float-defloat add a new layer and flood fill with a color of choice. Do the same step for all the remaining layers. BUT on layer 6 when you are done flood filling add the weave texture settings shown in the screen-shot below.

Add your tube as a new layer I had to erase some of it so it fit in the circle but that all depends on the tube you use.
Add your name in a font of choice I used a background/foreground gradient then went to selections-select all-float-defloat-modify-expand by 2 add a new layer and flood fill with the color white DO NOT deslect yet add another new layer and then add a drop shadow. Now deselect and move the drop shadow layer below the white layer.
Add a new layer and move it below all the other layers flood fill with a color of choice I used another combination of colors for a gradient. Then add your mask merge group. Duplicate and mirror it arrange them to your liking.
Finally add your copyright and license number if applicable save as png or jpeg whichever you prefer and we're done!
I hope you enjoyed this tutorial and found it easy to follow
Thursday, July 28, 2011
Twisted

This tutorial was written by Brunette on July 28th 2011.
Any similarity to any other tutorial is purely coincidental.
Do not copy and paste my tutorials or claim as your own you may link to them for group challenges.
What you'll need:
You'll need a tube of choice I am using the gorgeous art of Camilla Drakenborg. You can purchase her art for signature tags at Up Your Art.
AND while you're there be sure to check out the other awesome artists there!
Fonts of choice
Eye Candy - Gradient Glow
Mask 4 pack by Brutal Designs here.
I used masks 21 and 29 from the pack.
A kit of choice I am using an awesome kit called Evil Ann and Andy by Wicked Princess Scraps. You can find this kit over at Designer Scraps and the kit can be found here. While you're there check out the rest of her fab kits, as well as the other talented designers there!
Ready?
Let's get started!
Open up a 700x700 transparent canvas.
Open up paper 1 from the kit copy and paste it onto your canvas re-size it a little. Apply mask 21 and then merge group.
Open paper 2 from the kit copy and paste it onto your canvas re-size it a little. Apply mask 21 then merge group. You can merge these two layers together.
Open up paper 10 from the kit copy and paste it onto your canvas re-size it a little and move it below the above layer or layers if you merged them together. Apply mask 29 and then merge group.
Open up the Twisted word-art from the kit copy and paste it on your masked layers make sure you're on the top masked layers not the bottom. Re-size so if fits nicely and change the blend mode to screen.
I added moon 2 from the kit re-sized it so it fit nicely and placed it up in the left top corner. I added the ghost and tombstone from the kit re-sizing both so they fit nicely move the ghost behind the tombstone to kind of make it look like its coming out of the tombstone.
Add your tube mine I used the eraser tool on the bottom a little since it wasn't a full tube to make it sort of blend in with the masked layers. Duplicate it and change the blend mode to soft light.
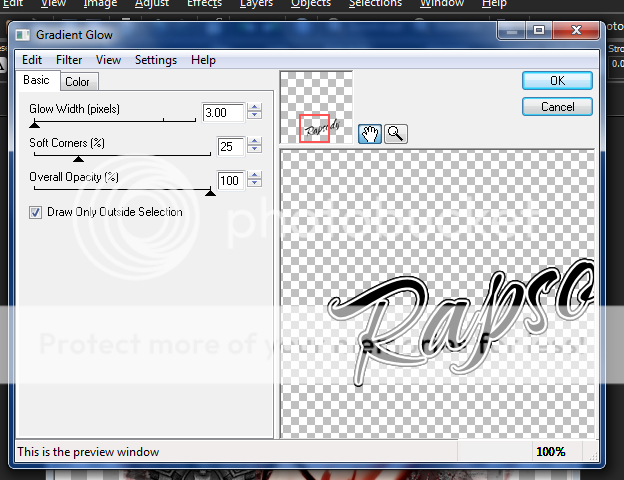
Add your name in a font of choice I used Caramel Candy. Rotate it 15 degrees to the left then apply a gradient glow and a drop shadow. My settings are shown in the screen-shot below. Change the blend mode to Luminance.

Finally add your copyright and license number if applicable save as png or jpeg whichever you prefer and we're done!
I hope you enjoyed this tutorial and found it easy to follow.
Tuesday, July 26, 2011
Emo Star

This tutorial was written by Brunette on July 26th 2011.
Any similarity to any other tutorial is purely coincidental.
Do not copy and paste my tutorials or claim as your own you may link to them for group challenges.
What you'll need:
Any similarity to any other tutorial is purely coincidental.
Do not copy and paste my tutorials or claim as your own you may link to them for group challenges.
What you'll need:
You'll need a tube of choice I am using the awesome art of Verymany. You can purchase their art for signature tags at Pics for Design.
AND while you're there be sure to check out the other awesome artists there!
Fonts of choice
Eye Candy - Gradient Glow
Star Tag template 2 by Jasice here.
Star Tag template 2 by Jasice here.
A kit of choice I am using a gorgeous kit called EMOlution by Pimp'd Designz. You can find this kit over at Pimp my tags with Scraps store and the kit can be found here.
Ready?
Let's get started!
Open up the template shift+d to duplicate it then close out the original.
Go to image-canvas size where it says width and height change both to 700 making sure its pixels.
Delete the watermark layer. I also closed off the white star layers and the pink star layer.
On the black rectangle layer I added the purple stitch from the kit re-size it so it fits along the rectangle.
On the pink rectangle layer selections-select all-float-defloat add a new layer and flood fill with a color from your tube. Close off the original pink rectangle layer.
On the gray rectangle layer selections-select all-float-defloat open up a paper of choice I used paper 1 from the kit copy and paste it as a new layer then go to selections-invert and hit delete. Close off the original gray rectangle layer.
Now I added the checkered print element from the kit and sparkle 2 from the kit arrange them to your liking and re-size them a little if needed.
Now we're gonna go back to the top layer on the palette copy and paste your tube arrange it how you want. Since mine was only a half tube I used ribbon one from the kit to cover the bottom of the rectangle and my tube, re-size it so it fits there nicely. I also added skull 2 from the kit re-sized it and placed it on the other side of my tube.
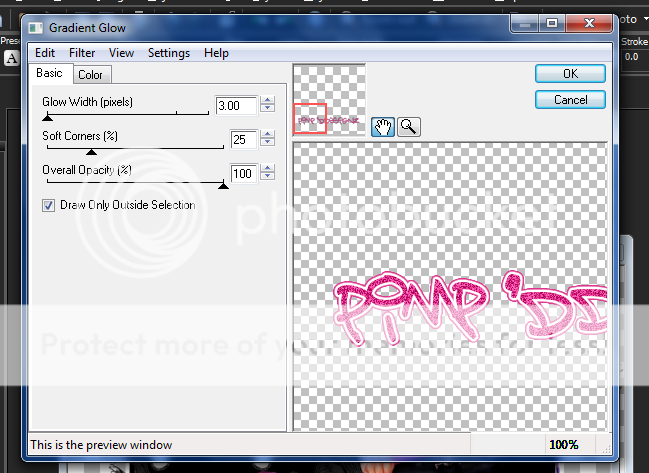
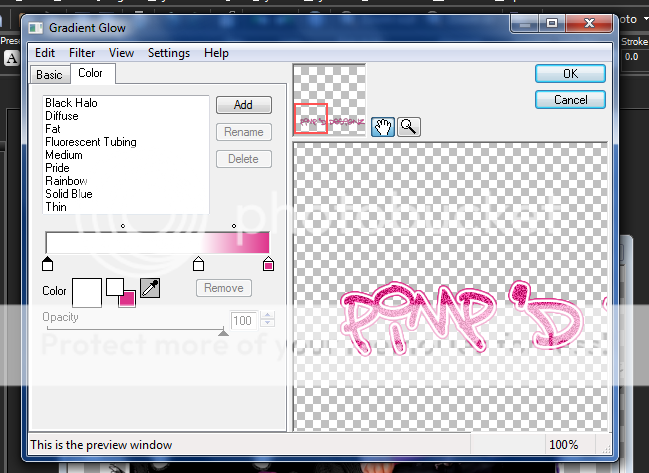
In a font of choice I used Bring tha noize type out your name I added some noise to mine then a graident glow and a drop shadow settings shown in the screen-shot below.

Finally add your copyright and license number if applicable save as png or jpeg whichever you prefer and we're done!
I hope you enjoyed this tutorial and found it easy to follow.
Sunday, July 24, 2011
New Snags!
Hello fellow bloggers!
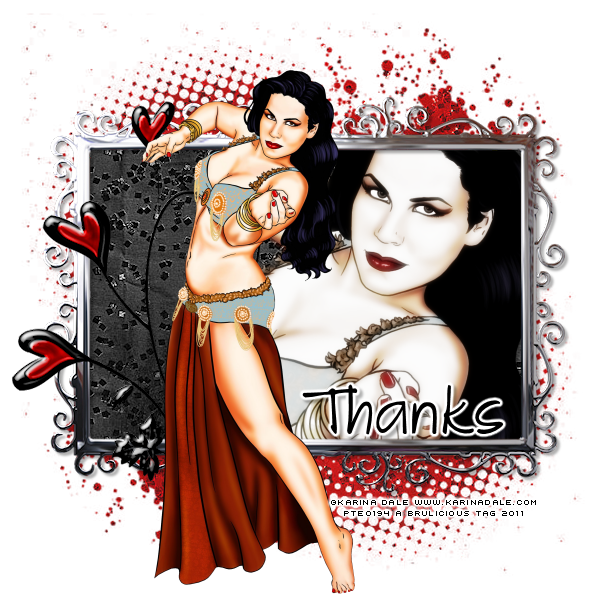
Here are some new snags for you using the gorgeous art of Karina Dale!
Available at PSP Tubes Emporium.
Please click on the tag for the full size version, thanks!
Enjoy!


Friday, July 22, 2011
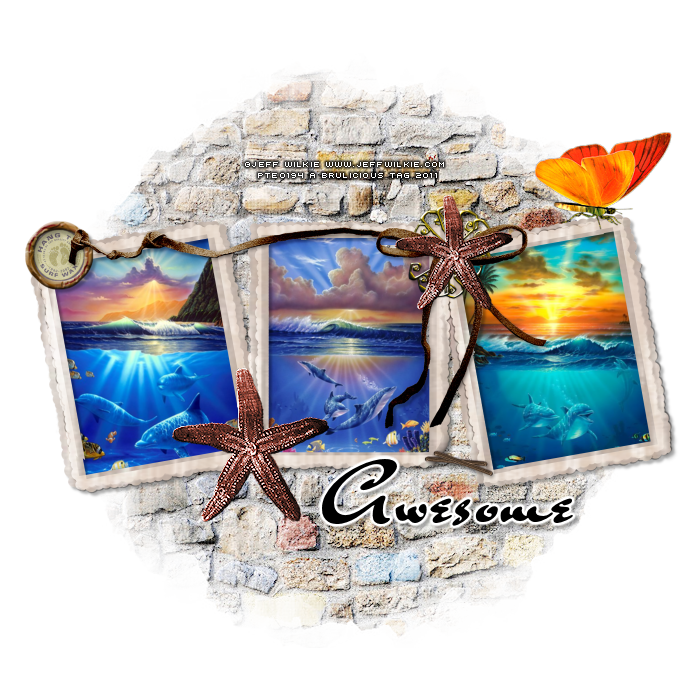
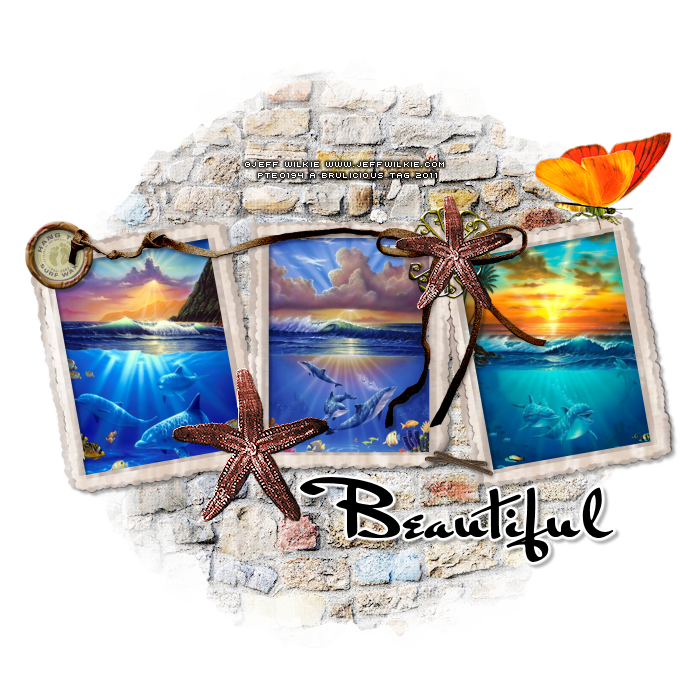
New Snags using beautiful images by Jeff Wilkie!
I made these snags using the gorgeous images by Jeff Wilkie.
Please click on the tag for the full size version, thanks!
Enjoy!

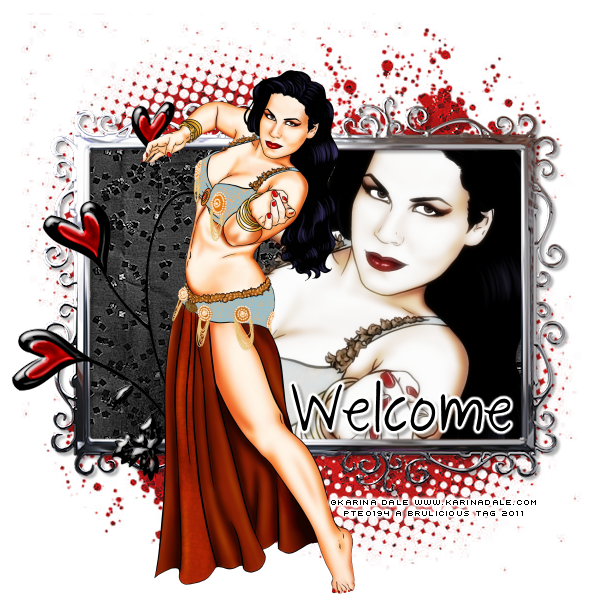
New Snags using Karina Dale's Art!
Here are some new snags using the gorgeous art of Karina Dale!
Please click on the tag for the full size version, thanks!
Enjoy!

Thursday, July 21, 2011
Summer Days

This tutorial was written by Brunette on July 22nd 2011.
Any similarity to any other tutorial is purely coincidental.
Do not copy and paste my tutorials or claim as your own you may link to them for group challenges.
You'll need a tube of choice I am using the awesome art of DL Norton. You can purchase his art for signature tags at Up Your Art.
AND while you're there be sure to check out the other awesome artists there!
Fonts of choice
Mask of choice
I used mask 219 from Weescotslass creations which you can find on her blog here.
A kit of choice I am using a gorgeous kit called Summer Time by Polkadot Scraps. You can find this kit over at Pimp my Tags with Scraps store and the kit can be found here.
Ready?
This is a VERY simple tutorial but with many possibilities!
Let's get started!
Open up a 700 x 700 canvas you can always re-size or crop it later.
Open up paper 5 from the kit copy and paste it as a new layer onto your canvas. Now add your mask then merge group. Add a new layer and flood fill with white merge group and make sure this layer is below the masked paper layer you just did.
Next I just added a bunch of things from the kit to decorate it this depends on what kit you and tube you use. The tube I used came with a few layers so it gave me more options.
I used the tree from the kit, the duck floatie, the beach ball and the sun.
I arranged them all around the tube and made her look like she was lounging in the sun.
Copy and paste your tube duplicate it and change the blend mode to soft light then add a drop shadow.
Add your name in a font of choice I used one called Arctic. Add a drop shadow.
Finally add your copyright and license number if applicable save as png or jpeg whichever you prefer and we're done!
I hope you enjoyed this tutorial and found it easy to follow
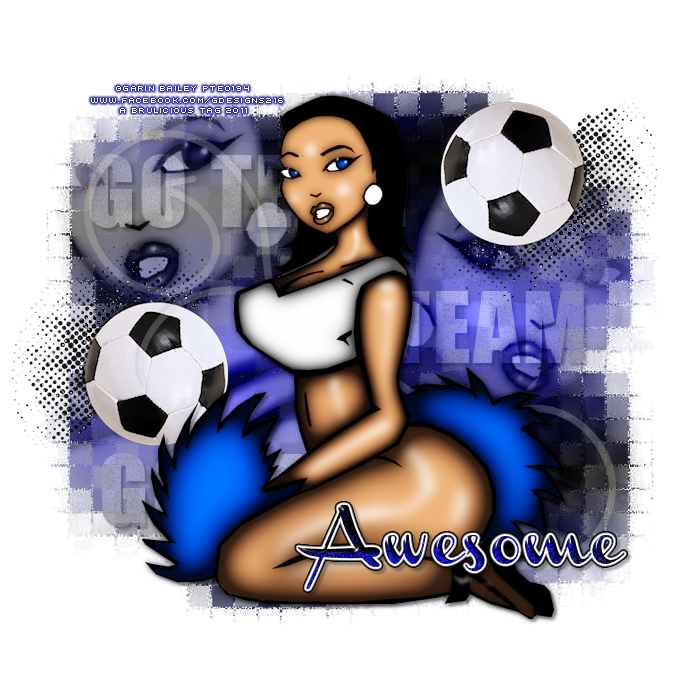
New snags!
Here are some new snags using the awesome art of Garin Bailey.
Please click on the tag for the full size version, thanks!
Enjoy!

Monday, July 18, 2011
New snags using the gorgeous art of Judy Mastrangelo!
New snags using the gorgeous art of Judy Mastrangelo!
Available at PSP Tubes Emporium.
Please click on the tag for the full size version, thanks!
Enjoy!


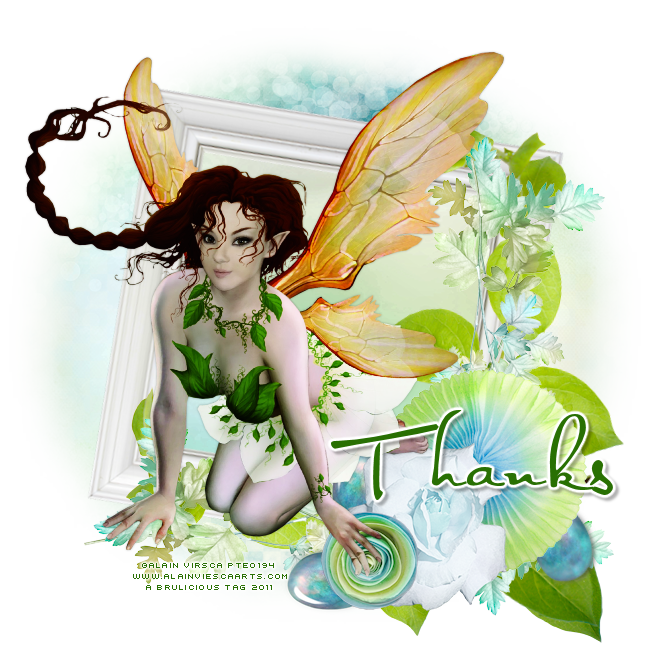
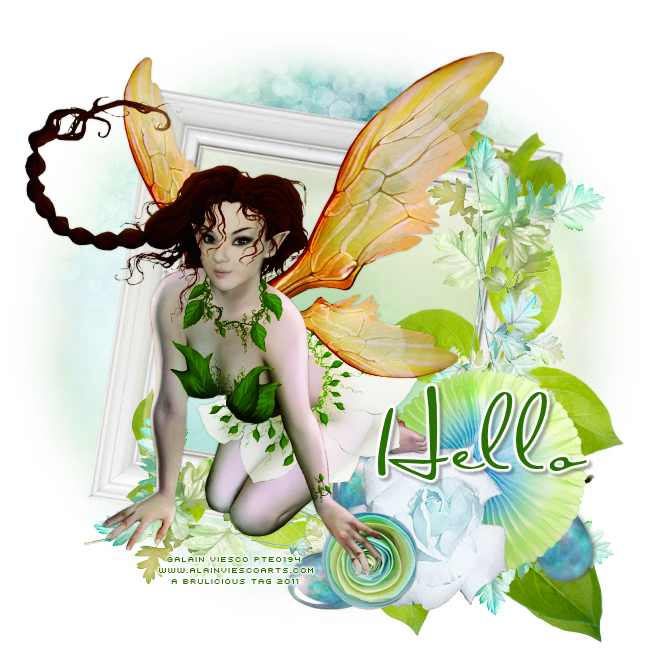
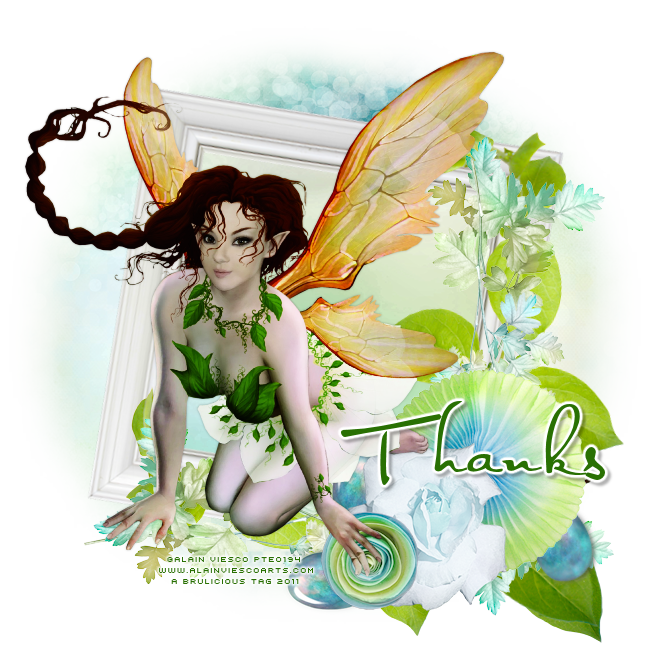
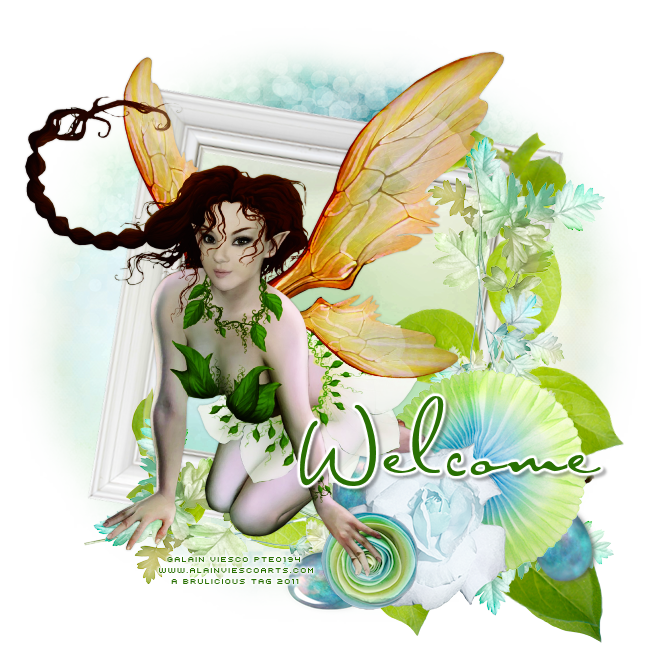
New Snags using Alain Viesca's gorgeous art!
Here are some new snags using the gorgeous art of Alain Viesca!
Please click on the tag for the full size version, thanks!


Thursday, July 14, 2011
New Snags using Nils art!
Here are some new snags using Nils awesome art!
Please click on the tag for the full size version, thanks!
Enjoy!


Wednesday, July 13, 2011
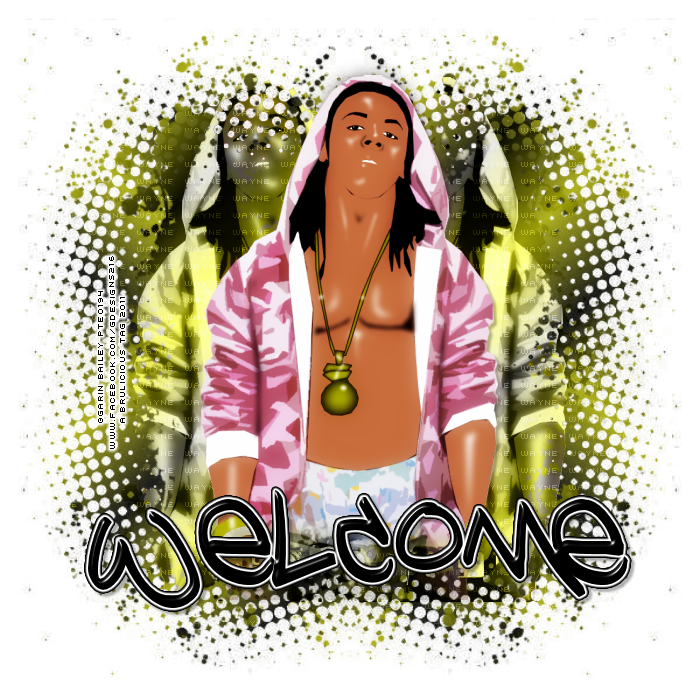
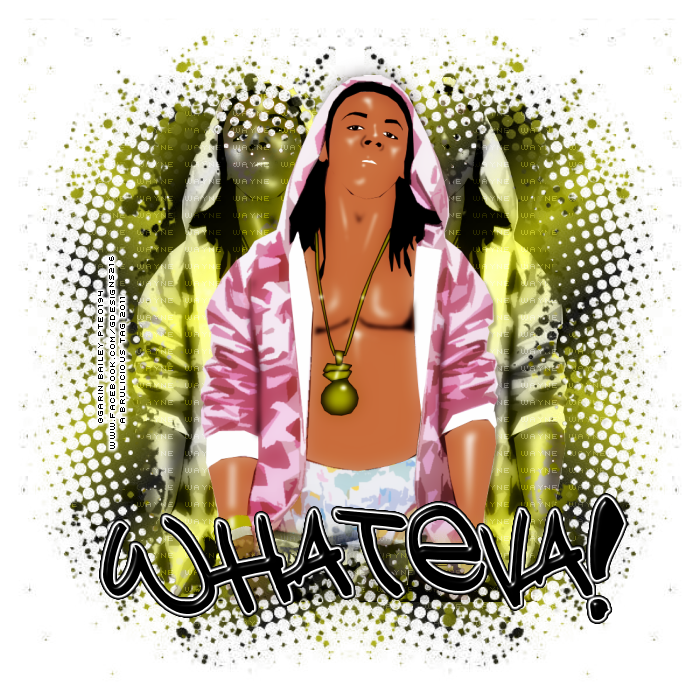
Garin Bailey Snags!
Please welcome Garin Bailey to PSP Tubes Emporium.
His gorgeous art can be found in the new releases section!
Please click on the tag for the full size version, thanks!
Enjoy!


Monday, July 11, 2011
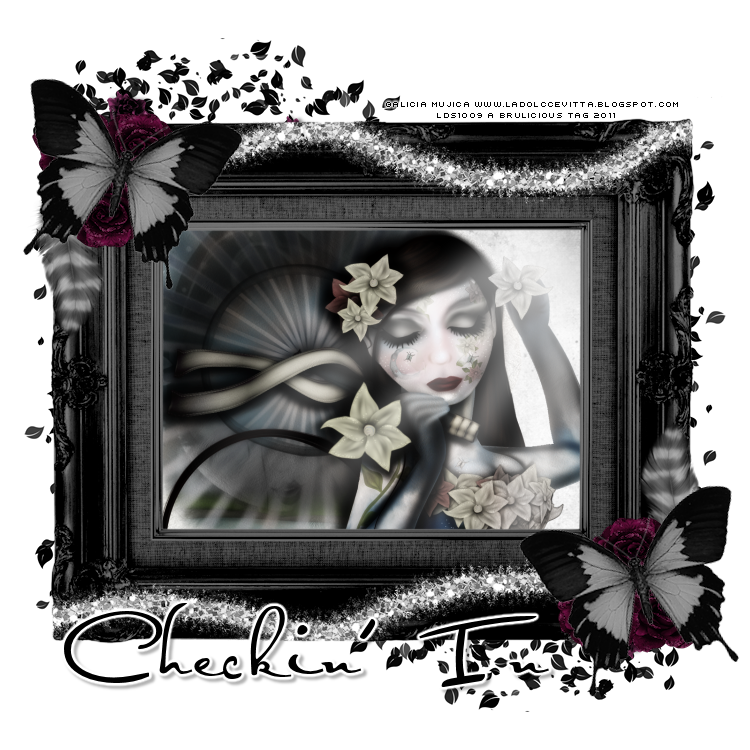
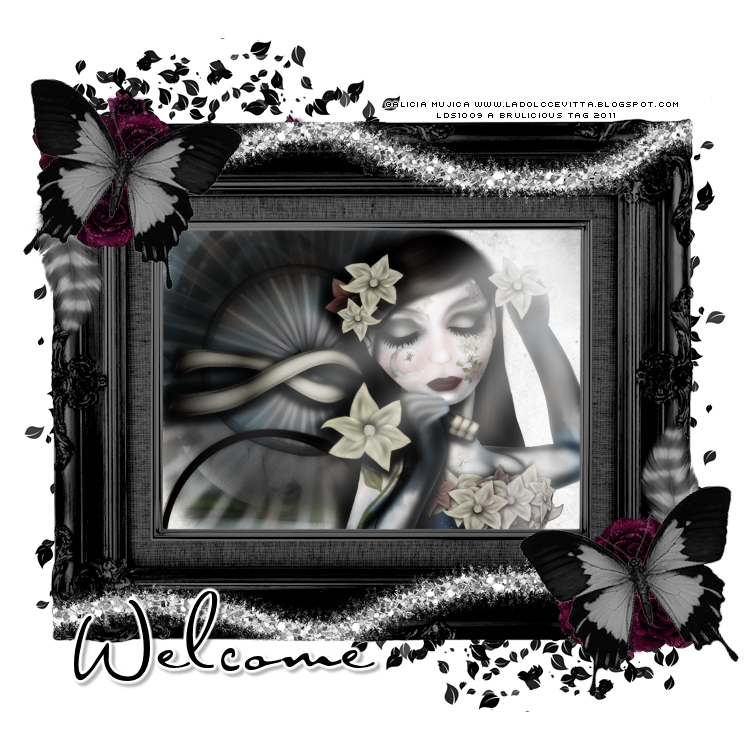
Alicia Mujica snags!
I made these snags with the gorgeous art of Alicia Mujica!
Available at PSP Tubes Emporium
Please click on the tag for the full size version, thanks!
Enjoy!

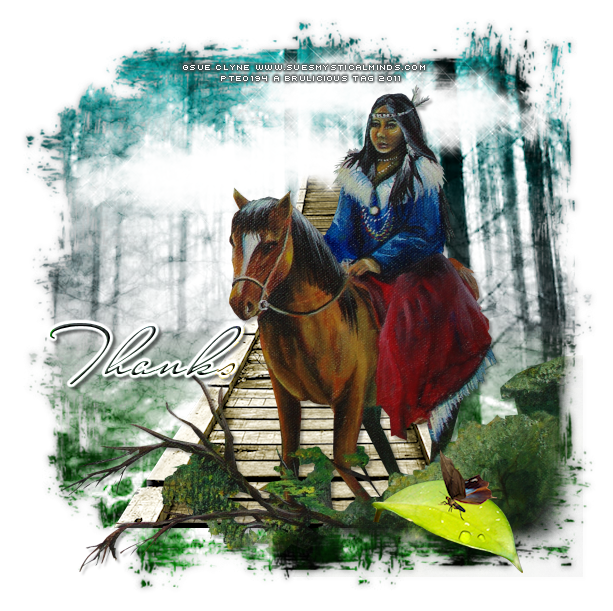
New Snags!
Here are a few new snags using the gorgeous art of Sue Clyne!
Please click on the tag for the full size version, thanks!
Enjoy!


Monday, July 4, 2011
Lix Snags!
I loooove this tube and Lix's artwork!
I made these snags using her gorgeous Joanna tube available only at PSP Tubes Emporium.
Please click on the tag for the full size version, thanks!
Enjoy!


Subscribe to:
Posts (Atom)


